Do you wear makeup on a regular basis?
If so, have you ever stopped to think about the effect that your makeup could be having on your skin?
While makeup in general, when used correctly, does not really cause any severe skin issues, it can still affect your skin in a number of ways, and this is something well worth knowing more about.
Allergic Reactions
One of the most common problems that people have with makeup products is that they can often lead to allergic reactions.
When it comes to these reactions caused by makeup, they can usually be categorized into one of the following:
- Irritant Contact Dermatitis – this is when you experience an itching or burning sensation, and tends to only affect the outer layer of the skin
- Allergic Contact Dermatitis – this is a deeper and “truer” allergic reaction, resulting in the allergens triggering an immune response from deep within your skin. This usually shows up as swelling, itching, or even as blisters
Think you’re safe because you haven’t yet experienced an allergic reaction to any of the makeup products you use?
Think again…
Both forms of contact dermatitis can arise after years of using the same product. The reactions can be caused by repeated exposure, so you can never be certain that you will not experience a form of contact dermatitis from your makeup.
What should you do if you ever experience an allergic reaction from your makeup?
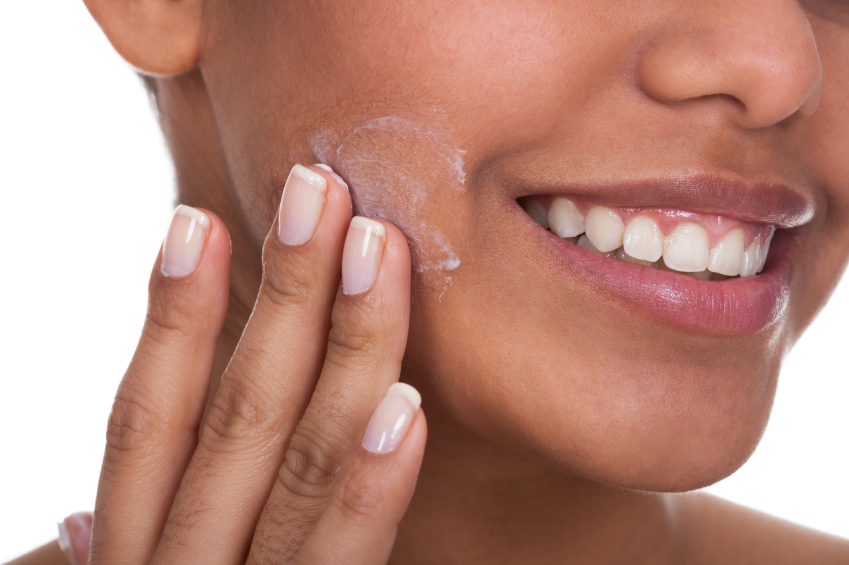
Immediately stop using the product, and look for a cream or treatment that contains plenty of anti-inflammatory ingredients. A cool compress held against the affected area can also help, but, if your reaction is quite severe, you may need to visit a doctor for some medication.
You are probably wondering…
Is there any way to prevent these allergic reactions from occurring in the first place?
Unfortunately, there are so many common allergens often used in makeup products, and this makes prevention quite challenging.
However, avoiding as many of those allergens as you can can definitely make a difference, especially for those who are prone to allergic reactions.
Toxic Ingredients
As mentioned above, many makeup products contain allergens and other toxic ingredients that are definitely no good for your skin. Not only can they lead to poor skin health, but they can also have more serious repercussions for your overall health too.
The list of these ingredients can seem almost endless, but here are a few of the most common ones to avoid:
- Parabens – this group of preservatives has earned itself quite a bad rep lately, and for good reason too. Parabens interfere with the way in which your natural hormones function, affecting everything from reproduction to the immune system to the growth of cancer cells
- Butylated Compounds – often referred to as BHT or BHA, these ingredients are preservatives that are found in a wide range of makeup products. Not only do they cause skin allergies, but they also mimic estrogen in the body, disrupting hormonal functions while promoting the growth of cancerous tumors
- Lead – the use of lead in many different products, such as paint, has been banned, due to the fact that it has been proven to be a harmful neurotoxin. However, many makeup color additives have been contaminated with lead, which can cause havoc to your skin and health. Try using products that have been produced in small batches, and make use of natural color pigments, instead, as this helps to minimize the chance of coming across lead contamination
- Fragrance – since cosmetic brands claim that their fragrance formulas are trade secrets, they are not required to disclose the ingredients used to create each fragrance. This means that there are usually hundreds of different chemicals hidden under this label, and these are some of the most common causes of skin reactions
When purchasing a new makeup product, be sure to check the ingredients list to ensure that none of the common allergens mentioned above have been used.
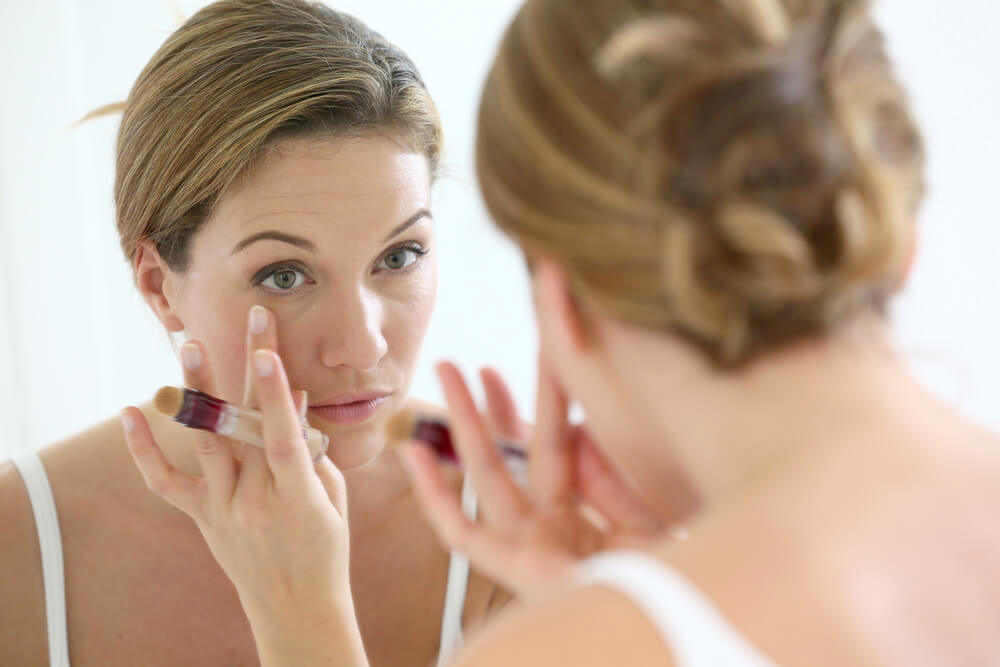
Acne Cosmetica
If you have noticed an increase in breakouts whenever you wear makeup…
This could mean that you are suffering from acne cosmetica.
Never heard of this condition before?
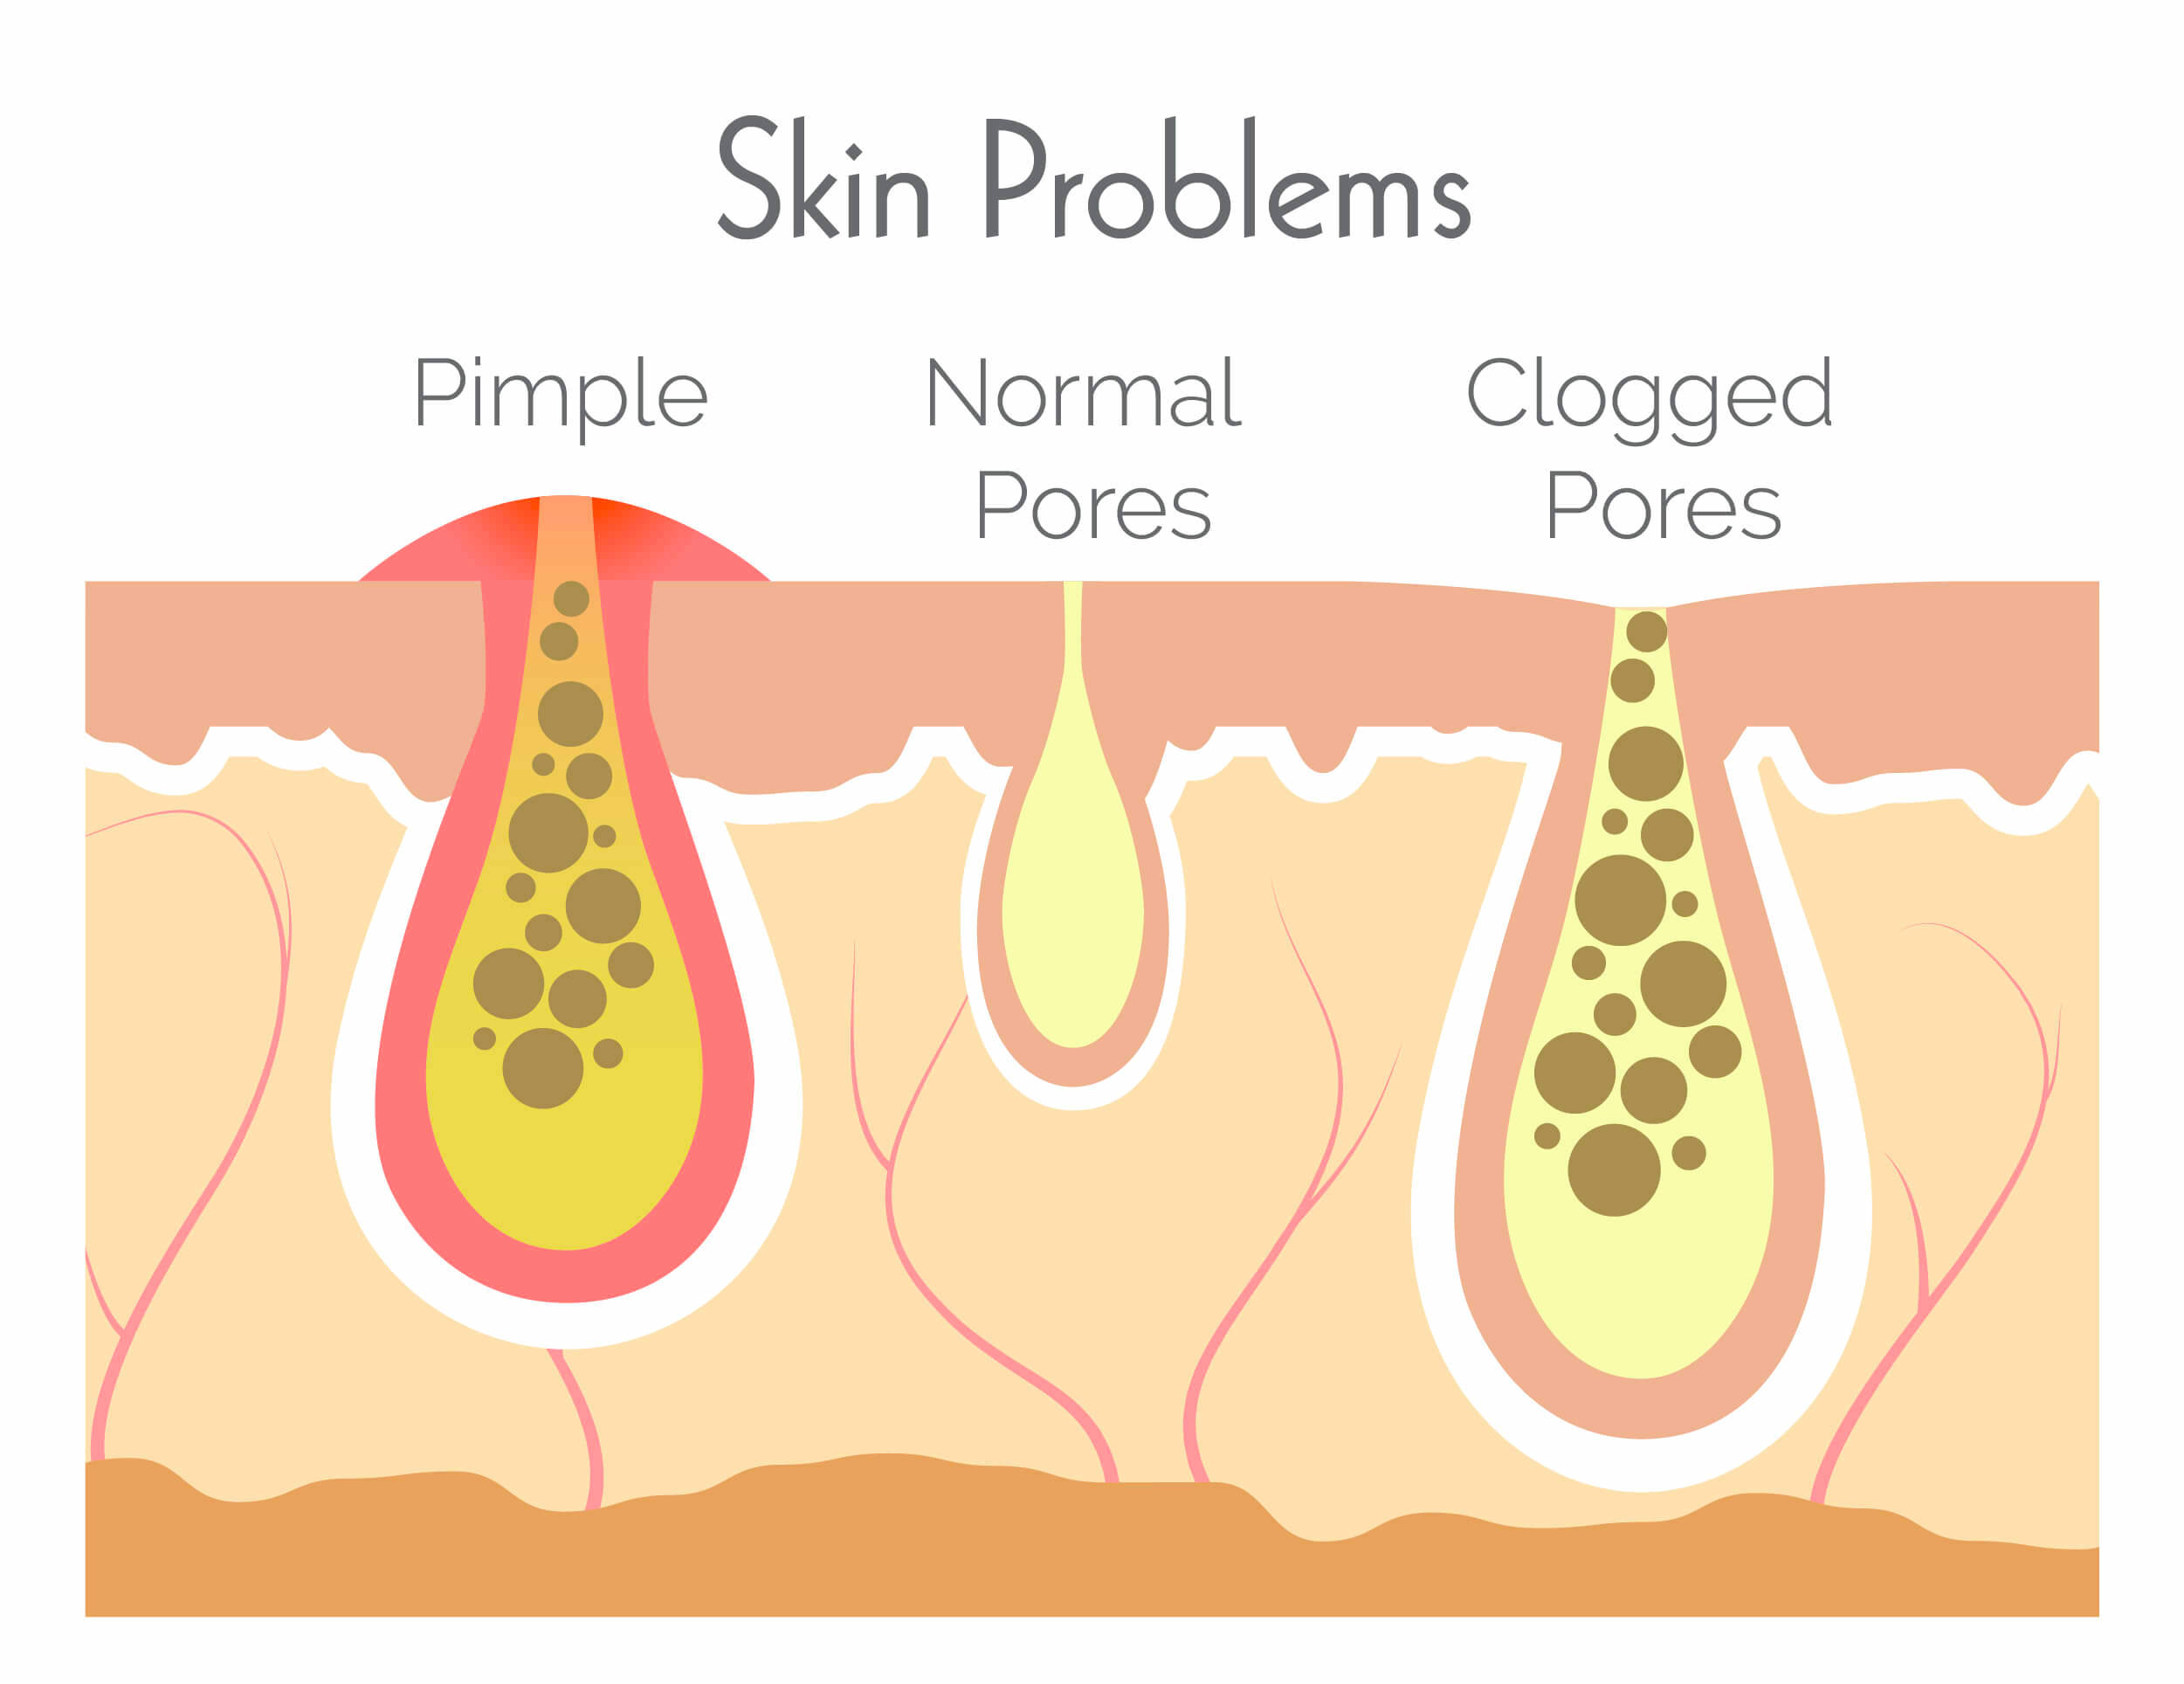
It is actually an extremely common type of acne, and is caused when cosmetic products build up inside hair follicles. This leads to clogged pores, resulting in a breakout.
How do you know which of your makeup products is causing your acne cosmetica?
Well, take a look at where your breakouts tend to occur. If they tend to accumulate around the eyes, then the culprit is likely to be one of your eye makeup products. On the other hand, if they are spread quite evenly across your face, take a closer look at your foundation.
Once you know which product it is that is causing your breakouts, you can stop using it.
Wondering why these cosmetic products cause acne in the first place?
It is usually down to the oils that have been used within the product’s formula.
One way to avoid purchasing makeup products that could potentially lead to breakouts is…
By looking for products that have been labelled as non-comedogenic. This means that their ingredient will not clog up your pores.
Common pore-clogging ingredients that are often used in makeup products include:
- Cocoa butter
- Grapeseed oil
- Coal tar
- Coconut oil
- Lanolic acid
- Linseed oil
- D & C red dyes
Another tip would be to make sure that the skin care products you use are also water-based, rather than oil-based. Adding excess oils to your skin before applying your makeup will only exacerbate the problem.
Bacterial Infections
Many people don’t realize that the use of makeup can sometimes lead to bacterial infections on the skin.
How?
In a couple of ways…
Firstly, cosmetic companies are not required to display expiration dates on their products, although a few still do. While this may be the case, it can be difficult to ascertain when a makeup product has expired, especially when it still seems to be working after a couple of years.
However, even though it may seem as though that forgotten-about product is still doing its job, what you won’t be able to see is all of the bacteria that is now living in that product.
To avoid unnecessarily infecting your face with bacteria, follow these guidelines when it comes to throwing out expired makeup products:
- Liquid Foundation – 2 years
- Powder – 2 years
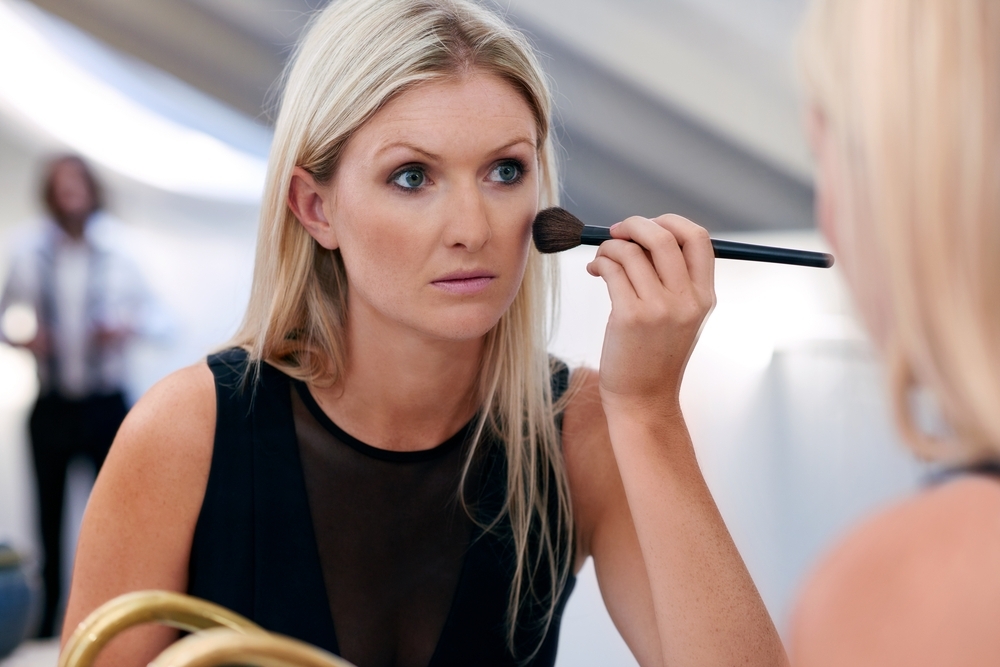
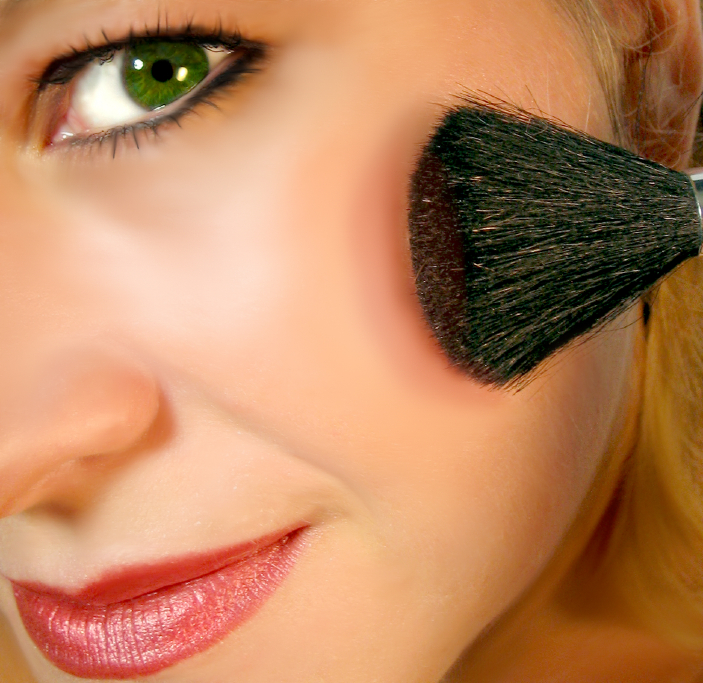
- Blush – 2 years
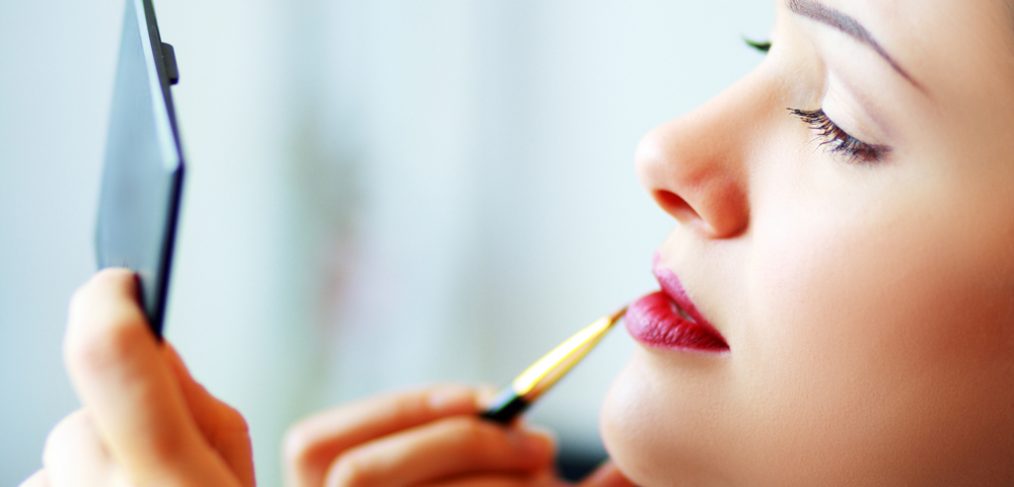
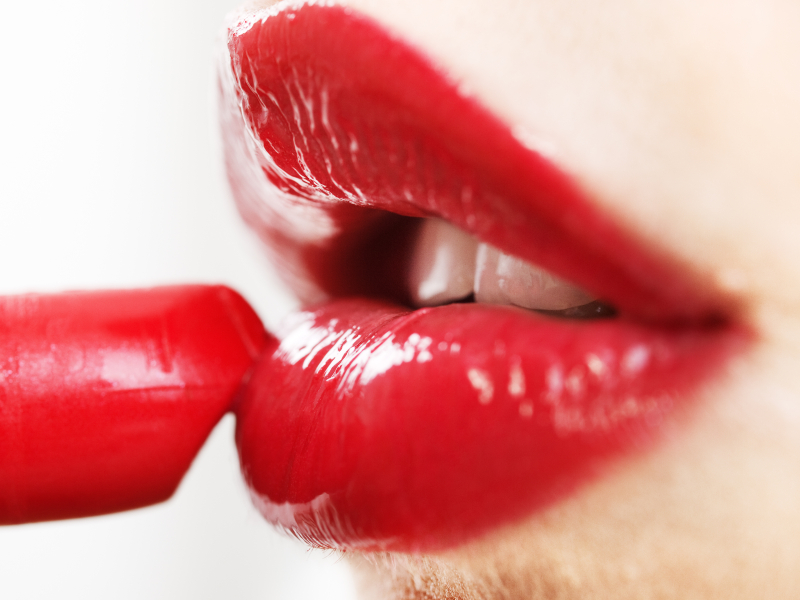
- Lipstick – 1 year
- Eyeliner – 1 year
- Eyeshadow Powders – 2 years
- Concealer – 2 years
- Eyebrow Pencils – 1 year
- Lip Liners – 1 year
- Mascara – 6 months
Of course, those shelf life guidelines will be even shorter if you don’t store your makeup products correctly…
Make sure that you tightly screw on any caps and lids once you are done using them, to prevent the products from drying out and to also prevent the ingredients from oxidizing. Keep your products away from extreme temperatures too, as this will only have an effect on their consistency.
Don’t forget, the tools that you use to apply your makeup, from brushes to sponges, can carry bacteria too. These need to be regularly cleaned in order to prevent bacterial skin infections.
How often should you be cleaning them?
Ideally, give them a quick clean after each use, and then a deeper clean every couple of weeks, or at least once a month. Brush cleaners are available for this, or you can simply use some warm water and a gentle soap.
Accelerated Skin Aging
While makeup itself does not cause accelerated skin aging, failing to remove it before you go to bed at night definitely does.
How are the two connected?
Well, each and every day, your body produces thousands of free radicals. These are basically unstable molecules within the body that go around attacking healthy cells, and this includes your skin cells.
Free radicals are created by exposing the body to so many different environmental factors, from the sun’s UV rays to pollution, making them pretty much impossible to avoid.
What does this have to do with your makeup?
Well, your makeup actually holds on to free radicals. When you remove your makeup at night, you are clearing away those free radicals along with it. However, failing to remove your makeup means that the free radicals end up causing even more damage than usual to your skin.
Leaving your makeup on at night can lead to:
- A breakdown in the collagen and elastin in your skin
- An increase in fine lines and wrinkles
- A rough skin texture
- Skin dullness
Of course, leaving your makeup on at night also means that there is more chance of your pores becoming clogged, resulting in breakouts.
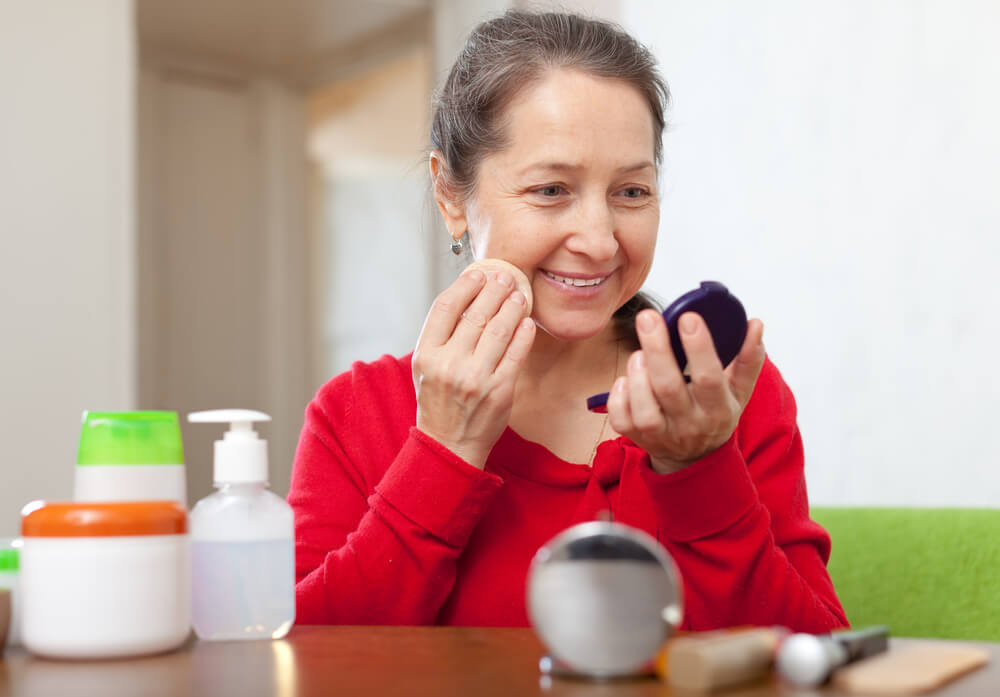
When it comes to removing your makeup…
A simple swipe of a cleansing wipe simply will not do.
Although these wipes may be super convenient, they only end up smearing your makeup across your face, along with the dirt, oil and dead skin cells that were also on your skin.
While a cleansing wipe is better than nothing on those evenings when you are just too exhausted to properly cleanse your face, you would be far better off with a proper cleanser for all of the other nights.
When using a proper cleanser, make sure that you massage this into dry skin, rather than damp.
Why?
Because damp skin means that the water that is already on your skin will end up diluting the cleanser, meaning that it will not do as good a job of removing every single makeup particle. Instead, massage it into dry skin for about 30 seconds, before adding a bit of warm water and continuing to massage for another 30 seconds or so.
After that, rinse the cleanser off and follow up with the rest of your skin care routine. Make sure to never leave your skin bare after cleansing, as it is quite vulnerable at this time and will be prone to dryness and sensitivities.
One more thing to keep in mind when removing your makeup…
Make sure that you are extremely gentle when handling your skin. It may be tempting to tug at parts of your skin, such as your eyes when removing mascara, but avoid doing this. The skin on your face is so thin and delicate, and any extra tugging and tension will only lead to an increase in facial sagging and fine lines. This is especially the case when dealing with the fragile skin around the eyes.
Dry Skin
Not only can certain makeup products exacerbate dry skin, but they can sometimes even cause this in the first place.
How?
Well, if you have dry skin, then this means that your skin has a lack of natural oils. These help to prevent moisture from evaporating out of the skin.
Certain makeup products, such as powders, actually absorb the oils on your skin. If you already have a lack of these oils, then losing the little that you do have means that you will quickly experience the symptoms of dryness.
Fortunately, there are plenty of hydrating powdered makeup formulas available now. You could also try applying a moisturizer onto your skin and then waiting for a few minutes before applying the powder over the top of that. Not only will this keep your skin more hydrated, but it will also give your makeup a fresher and dewier finish.
In general, creamy makeup formulas tend to be better than powders for those who have dry skin. The creams will be so much more moisturizing and nourishing, and there is little chance that they will cause your skin to dry out.
For most people out there, wearing makeup will not really cause any skin problems. However, it is always good to be aware of the potential side effects, so that you can recognize the symptoms and deal with them as soon as they start to appear.